 Create this project along with Alyssa!
Instructional video will premiere on the Museum’s YouTube Channel on Saturday, August 8 at 10 am.
Project Overview:
Together we will discover what a rubbing is and how to use things in nature to create them! After getting inspired by our surroundings, we will get creative and make our own artwork using this new technique. Everyone’s artwork will be unique depending on what they find around their own homes outside!
Materials:
paper
crayons
leaves
Key Concepts:
composition
rubbing technique
details
Texture
symmetrical/asymmetrical
Step-by-Step Instructions
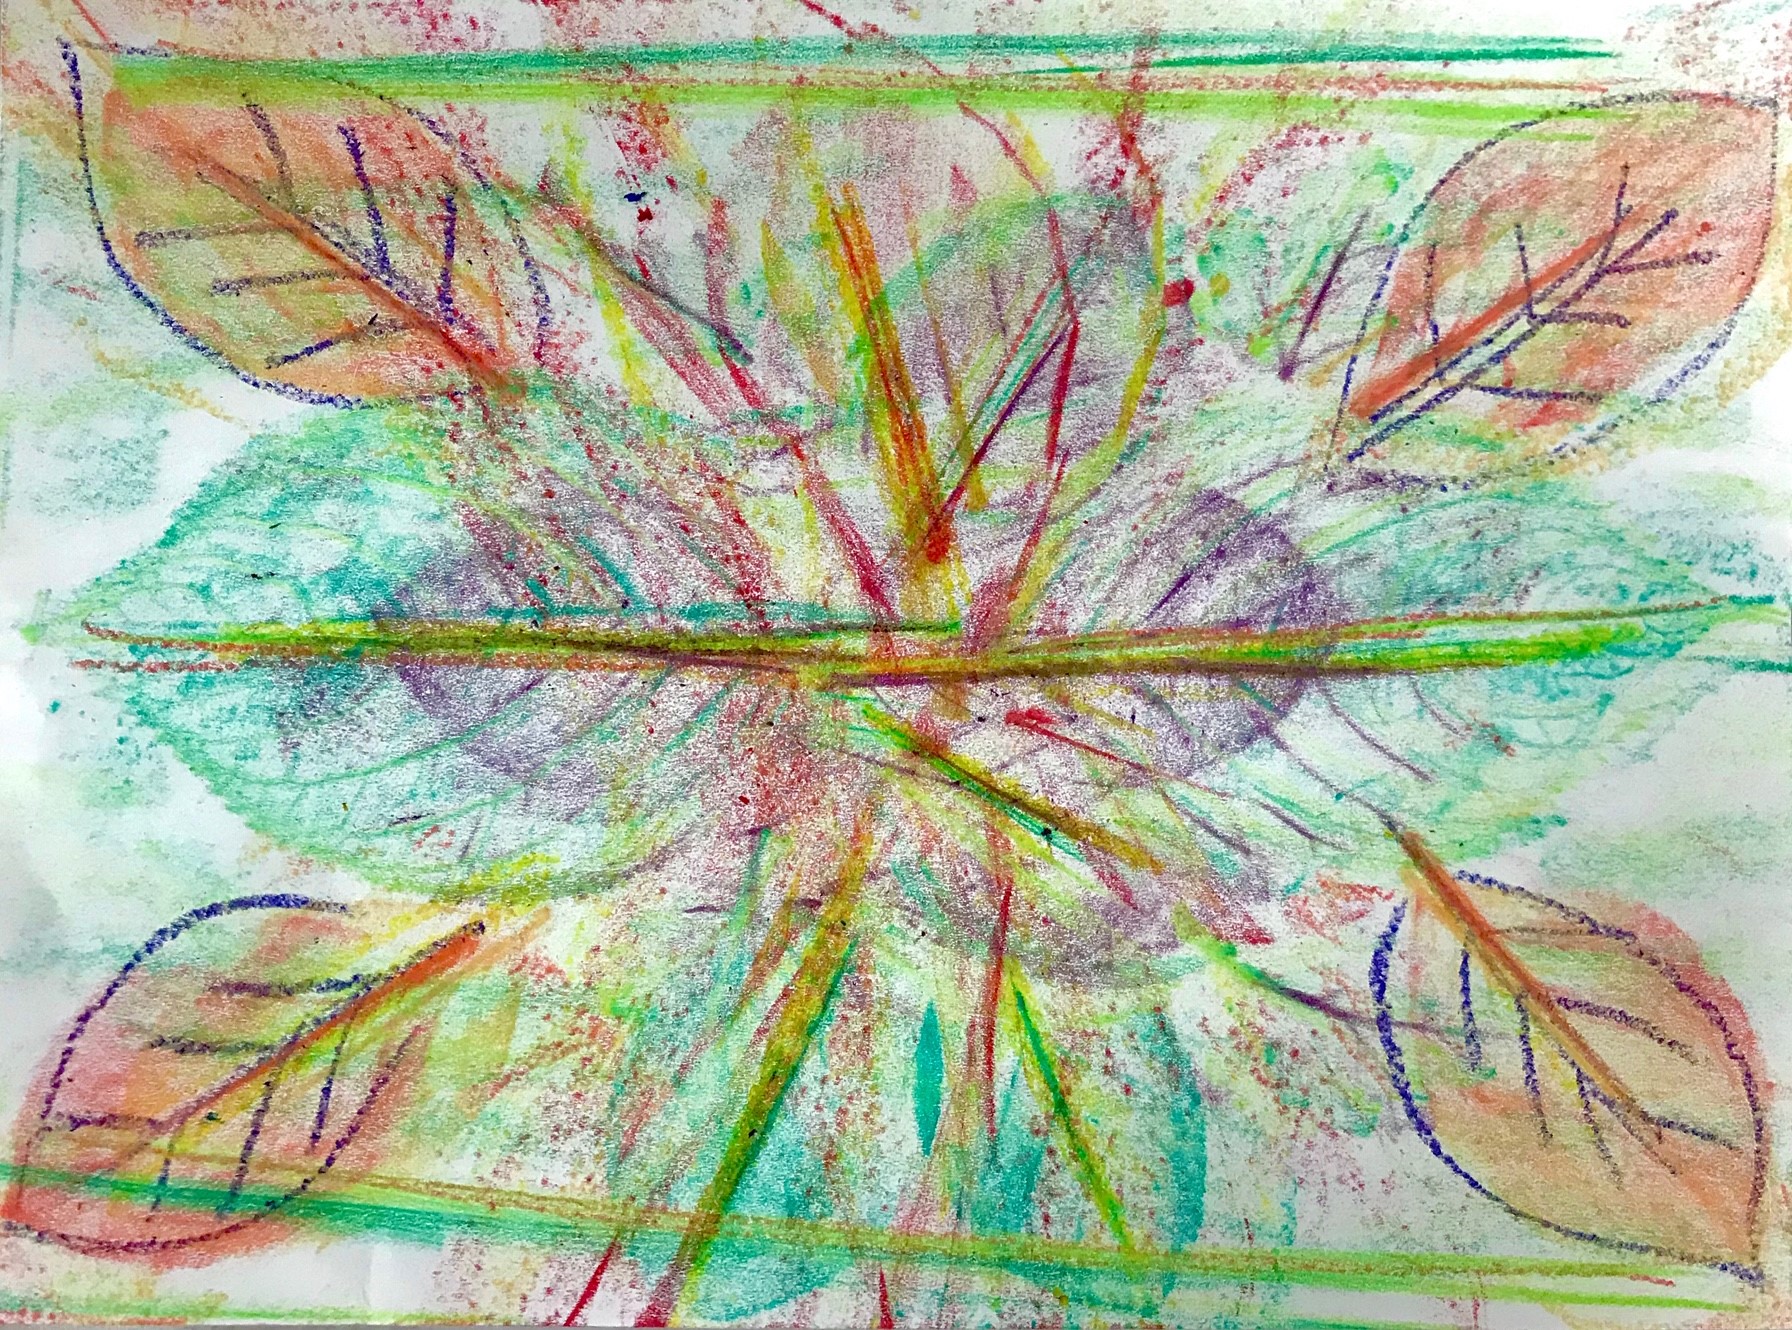
1. To begin our project today, we’ll need to go on a material treasure hunt! Look around your front or back yard, and around your neighborhood for some interesting leaves. Try to find them in all different shapes and sizes so you can experiment.
2. Once you’ve gathered your leaves, it’s time to start your project. Think about your composition, or how all the details you want to include will look once they are placed together.
3. Take a piece of paper and start arranging your leaves in a design. If you place your leaves evenly on both sides, your design will be symmetrical. If your leaves are laid out spontaneously across your paper, your design will be asymmetrical.
4. Peel a few different colored crayons of your choice.
5. Use a second piece of paper and lay it on top of your arrangement on a flat surface. Put your hand down flat and use pressure so your paper and leaf don’t shift when you start rubbing.
6. Take your crayon and grasp it so it’s flat on its side (don’t hold it like a pencil!)
7. Start rubbing it all over your paper. It will be exciting to see the shapes of your leaves appear as you rub!
Share!
Please share photos of your finished works of art with us on social media and we will post some of our favorites here. And check back next week for our next project! #HeckscheratHome #MuseumfromHome